Jupyter Notebook installieren
Erstellen einer virtuellen Umgebung mit jupyter
Virtuelle Python-Umgebungen ermöglichen die Installation von Python-Paketen an einem isolierten Ort für eine bestimmte Anwendung, anstatt sie global zu installieren. So habt ihr eure eigenen Installationsverzeichnisse und teilt keine Bibliotheken mit anderen virtuellen Umgebungen:
$ python3 -m venv myproject
$ cd myproject
$ . bin/activate
$ python -m pip install jupyter
Jupyter-Notebook starten
$ jupyter notebook
...
[I 12:46:53.852 NotebookApp] The Jupyter Notebook is running at:
[I 12:46:53.852 NotebookApp] http://localhost:8888/?token=53abd45a3002329de77f66886e4ca02539d664c2f5e6072e
[I 12:46:53.852 NotebookApp] Use Control-C to stop this server and shut down all kernels (twice to skip confirmation).
[C 12:46:53.858 NotebookApp]
    To access the notebook, open this file in a browser:
        file:///Users/veit/Library/Jupyter/runtime/nbserver-7372-open.html
    Or copy and paste one of these URLs:
        http://localhost:8888/?token=53abd45a3002329de77f66886e4ca02539d664c2f5e6072e
Euer Standard-Webbrowser wird dann mit dieser URL geöffnet.
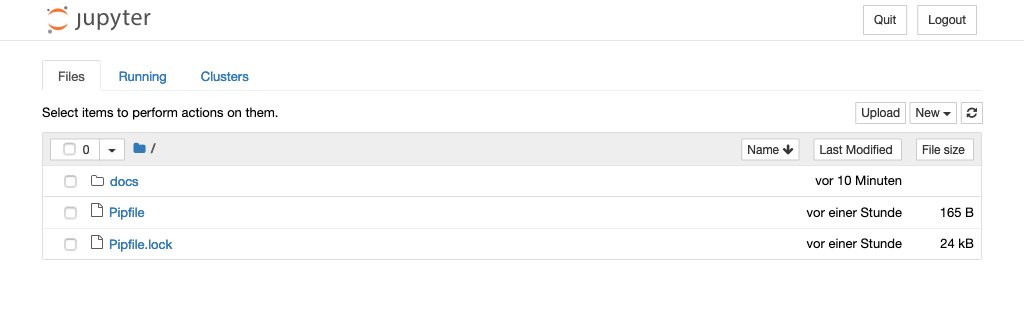
Wenn das Notebook in eurem Browser geöffnet wird, wird das Notebook-Dashboard mit einer Liste der Notebooks, Dateien und Unterverzeichnisse in dem Verzeichnis angezeigt, in dem der Notebook-Server gestartet wurde. In den meisten Fällen möchtet ihr einen Notebook-Server in eurem Projektverzeichnis starten.