ipylayout
ipylayout basiert auf GoldenLayout, einem Multi-Screen-Layout-Manager für Webanwendungen.
Installation
ipylayout kann einfach mit pipenv installiert werden:
$ pipenv install ipylayout
Installing ipylayout…
…
Sofern noch nicht geschehen, wird auch ipywidgets mitinstalliert.
Beispiel
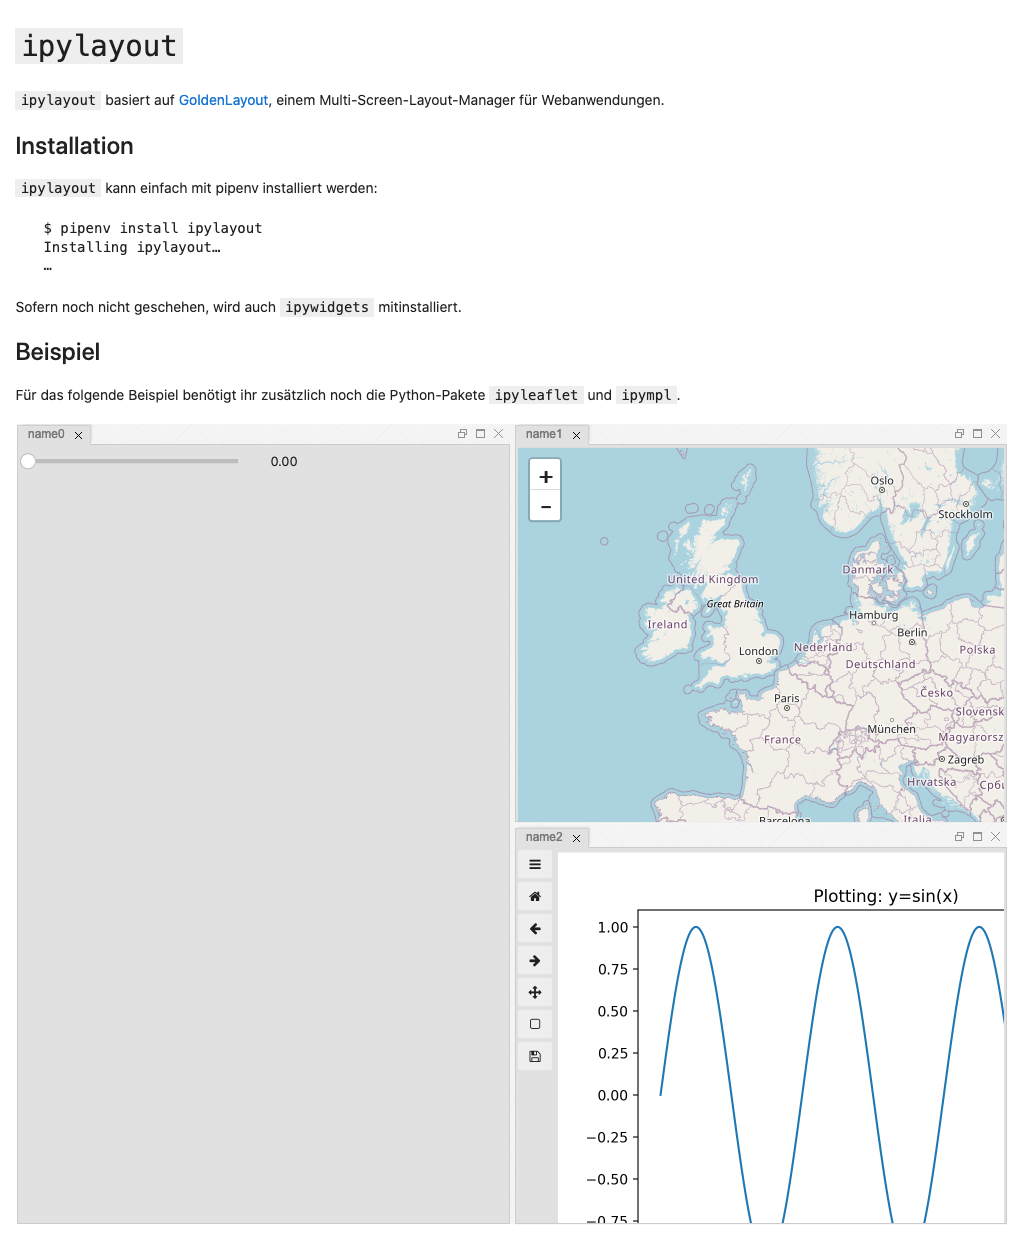
Für das folgende Beispiel benötigt ihr zusätzlich noch die Python-Pakete ipyleaflet und ipympl.
[1]:
%matplotlib widget
import ipylayout
import ipyleaflet
import ipywidgets
import matplotlib.pyplot as plt
import numpy as np


plt.ioff()
[1]:
<contextlib.ExitStack at 0x1085db1d0>
[2]:
# create a plot

fig = plt.figure()
fig.canvas.header_visible = False
fig.canvas.layout.min_height = "300px"
fig.canvas.layout.width = "100%"
plt.title("Plotting: y=sin(x)")

x = np.linspace(0, 20, 500)
lines = plt.plot(x, np.sin(x))
[3]:
# create a slider

slider = ipywidgets.FloatSlider()
[4]:
# create a map

m = ipyleaflet.Map(
    center=(52.204793, 360.121558),
    zoom=4
)
[5]:
# create a layout

l = ipylayout.Layout(layout=ipywidgets.Layout(width="100%", height="800px"))
l.theme = "light"  # light or dark
l.config = {
    "content": [
        {
            "type": "row",
            "content": [
                {
                    "type": "component",
                    "componentName": "name0",
                    "componentState": {"label": "A"},
                },
                {
                    "type": "column",
                    "content": [
                        {
                            "type": "component",
                            "componentName": "name1",
                            "componentState": {"label": "B"},
                        },
                        {
                            "type": "component",
                            "componentName": "name2",
                            "componentState": {"label": "C"},
                        },
                    ],
                },
            ],
        }
    ]
}
l.components = {"name0": slider, "name1": m, "name2": fig.canvas}
[6]:
l
ipylayout kann auch zusammen mit Voilà verwendet werden: 